
Are you a BJD enthusiast who has always been intrigued by the art of faceups but felt too intimidated to give it a try? Does the mere thought of applying eyeliner or creating a perfect wing make your hand tremble, discouraging you from picking up that paintbrush?
If you can relate, fear not! In this article, I will share with you five genius faceup hacks that are incredibly easy to master.
These hacks will not only simplify the faceup process but also boost your confidence and make your journey into the world of BJD faceups an enjoyable and rewarding experience. Get ready to unleash your creativity and transform your dolls!
| Key Takeaway | Summary |
|---|---|
| Hack #1: Use poster putty to protect doll from pastel | Place flattened pieces of poster putty in head cap and ears to prevent pastel stains |
| Hack #2: Hollywood Triangle and T/V shades for shading | Use shading techniques like the Hollywood Triangle and T/V shades for realistic effects |
| Hack #3: Masking tape eyeshadow for clean application | Create sharp and clean eyeshadow looks using masking tape |
| Hack #4: Sharp wing eyeliner with invisible tape | Use invisible tape to create precise winged eyeliner |
| Hack #5: Simple eyebrow stencil for symmetrical eyebrows | Create symmetrical eyebrows using a stencil made from painters tape |
Related/Helpful Articles:
https://bjdlife.com/faceups-for-beginners/
https://bjdlife.com/all-about-bjd-faceup-artists/
If you found this guide to be helpful feel free to check out my video covering this article!
The Essential 5 Hacks to BJD Faceups
The pre-hack hack
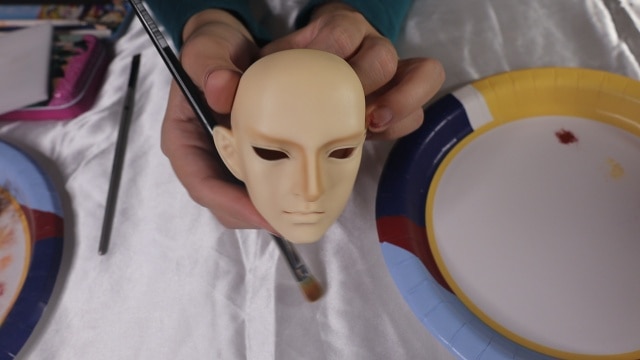
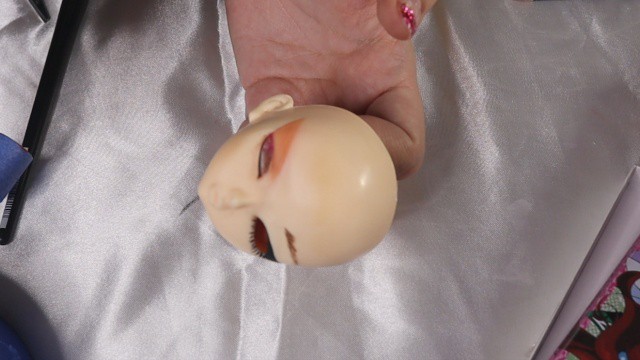
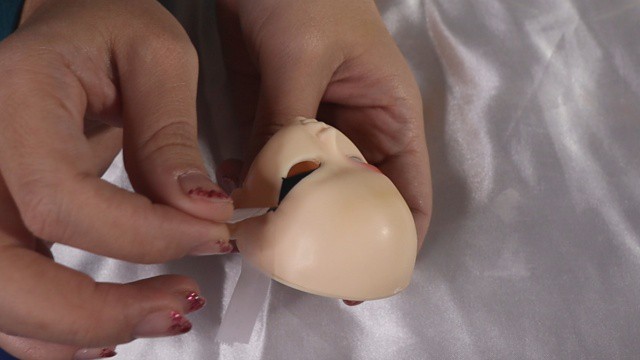
So if you haven’t seen in any of my previous videos or have picked this hack up from my other tutorials I am going to give this first one to you for free. If you are doing any kind of pastel work and are tired of the excess pigments getting into your dolls head cap or ears, I will show you how to fix the this.
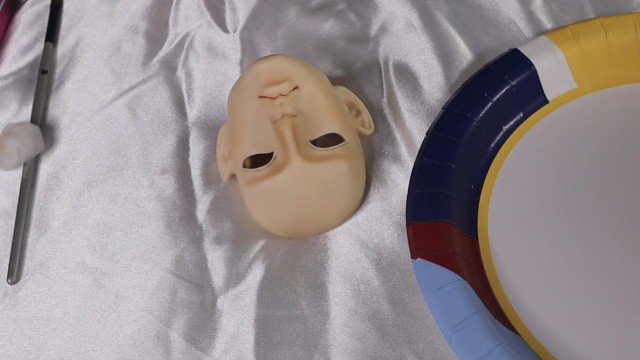
First you will need some poster putty. I opt for beige since it is less likely to leave nasty residue or stains on your dolly. Pull off 4 small pieces and flatten them down like pancakes. Then you will place the pancakes in the inside of the head cap where the eyes would go. This will block the pastel from getting into the head cap and you can seal your head with them in place or remove them when you are ready to work on acrylic eyeliner. The other two flattened discs can go into the ears covering the whole shell of the ear. This will save you the trouble of having to clean any stray pastel from your BJDs ears.
Placing putty in my dolls head is actually the first step I do when I am getting ready to start on my dollys faceups. Feel free to try this and enjoy having no messy pastel in unwanted areas.
Hack #1 The Hollywood Triangle
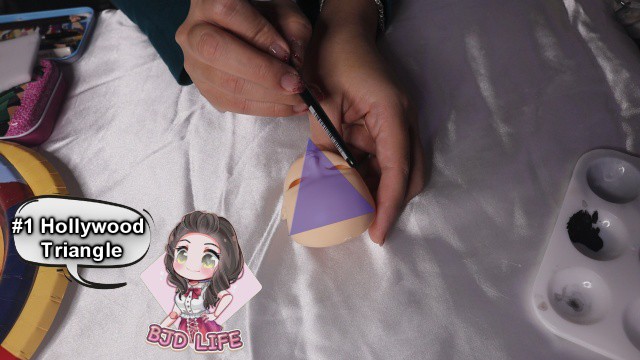
Sometimes one of the greatest fears people have are where to place shades and shadows. I got this idea from a YouTube makeup tutorial that was actually all about makeup hacks. Which side note, looking at makeup tutorial videos are really helpful when you are looking to start faceups!
Back to the Hollywood Triangle, most Hollywood stars have that contour look where it looks light in the center of their face and darker towards the outside. If we transfer this skill over to our BJDs you are going to imagine a triangle with the tip facing down towards the chin. All your darker shades will go towards the outside of the triangle. Cheek bones and the forehead area are good places to put those shadows. Use your lighter pastels to help blend in your shades and to help those darker colors melt into the different parts of the face.
Hack #2 “T” and “V” shades
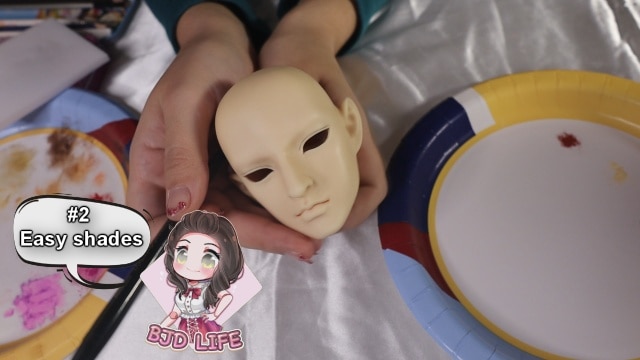
If you are not a fan of the “Hollywood Triangle” let’s look into “T” and “V” shades. These are more shaded areas you can try with your doll faceups. Applying shades are so important to a faceup because they can help change the shape of the face and really bring your doll to life by adding these simple colors.
When we look at the “T” shades you are working on the brow bone area and nose. Start with warmer colors first such as light browns and work your way to darker shades. When working on the nose area put your darker shades down the sides of the nose leaving the center clear. The more open of a space you leave down the center of the nose will make the lose become wider. If you leave a smaller line of light color down the center the nose can appear thinner. Blend in your shades with lighter colors to soften the look or use a cotton ball to blend.

If you are looking at the “V” shades you are working on the cheek areas at a slant. I like to start at the outer corner of the eye and will bring lighter colors and darken as I go. If I am looking to add blush I will start even a tad higher and drag my color down. Experiment with pinks and browns to see how warm you want the face to look. For girls I do tend to lean more with the pinks and with my boys I use the browns.
Hack #3 Masking Tape Eyeshadow
Have you ever seen those awesome makeup looks where the eyeshadow is so straight and clean. How did they do that? Well you will need your handy dandy painters tape.
Take your painters tape and fold 1/3 of it down so you can lay it down without having too much sitting on the doll’s face. Angle it however you want and try different things to see what you like.
Once you have laid down the tape, get your pastels ready and start laying them down. If you want that triangular look you are going to take your pastels in at an angle and work the colors the way you want. Again, this is where looking at makeup videos can be so helpful because there are so many blending techniques and color combos that can be applied towards BJDs.
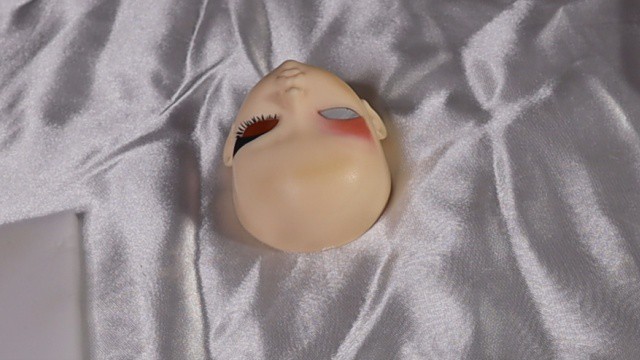
Once you have your pastels put into place and you are happy with the colors slowly lift up the tape from the bottom. TADAH! Seal that bad boy and enjoy your sharp angled eyeshadow.
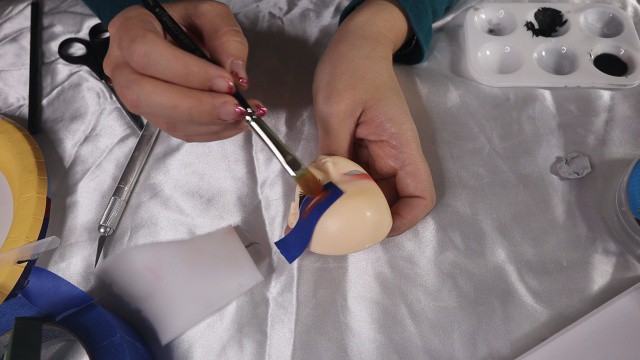
Hack #4 Sharp wing eyeliner
Sometimes people stress out over liner, especially if they feel like they don’t have steady hands. Doing BJD eyeliner can be very stressful especially when creating the wing. If you want to get that super sharp line let’s get our clear or invisible tape out and ready.
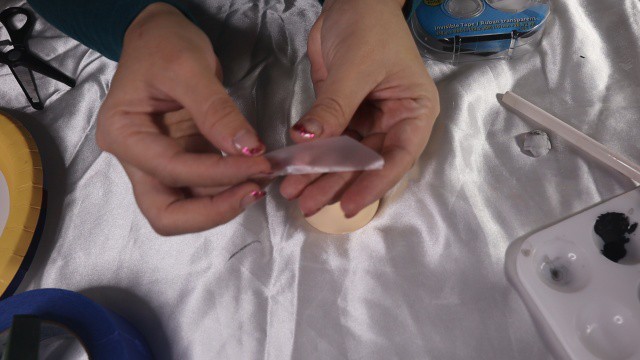
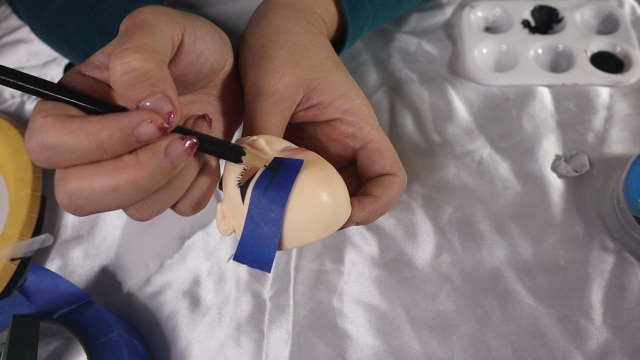
Fold the tape similar to like when you folded the tape for the eyeshadow. Fold the tape 1/3 in so you can stick it to the dolls face. When you are ready to start angle your tape at the level you want for your wing. Creating a wing on your eye can change the shape of the eye so experiment with how long you want the wing or how high/low you want it.
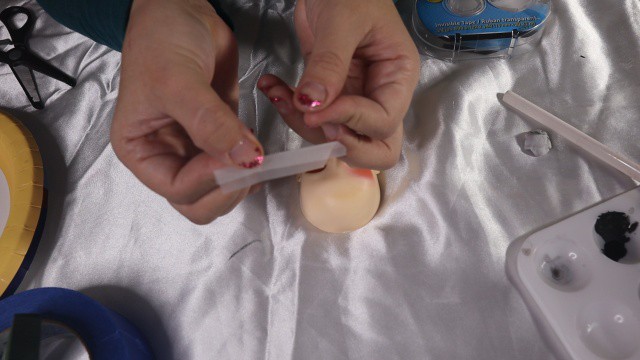

Get your acrylic paint and start on the tape side and drag your brush down at an angle. Don’t worry about getting paint on your tape and create your line as thick or thin as you desire. I am going to keep preaching this point, but there are great eyeliner tutorials that can transfer over the BJDs.
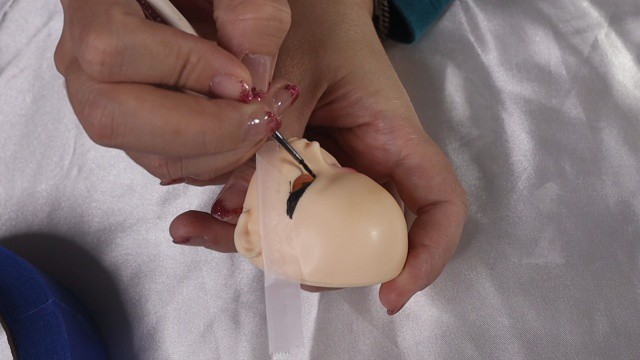
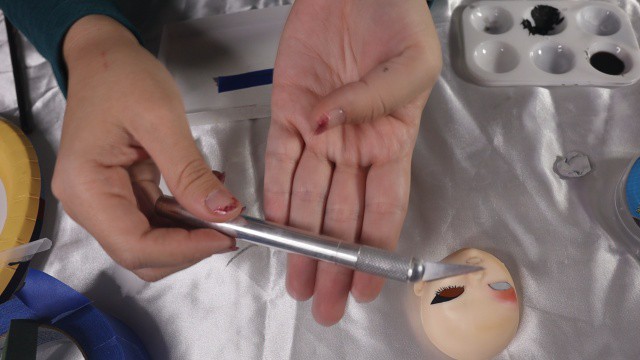
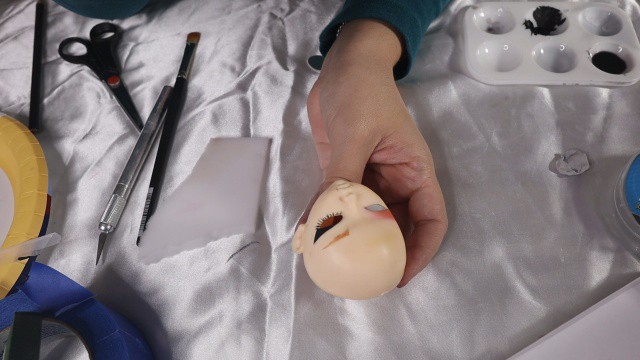
When you are finished painting wait for the paint to dry fully before pulling the tape off. Once again you are going to want to pull front he bottom and remove them tape upwards.
Hack #5 simple eyebrow stencil
Back when I first started doing faceups I was so SCARED of eyebrows. I was terrified of placing them and making them similar in thickness and size. With this simple hack you can do the same eyebrows on both sides!
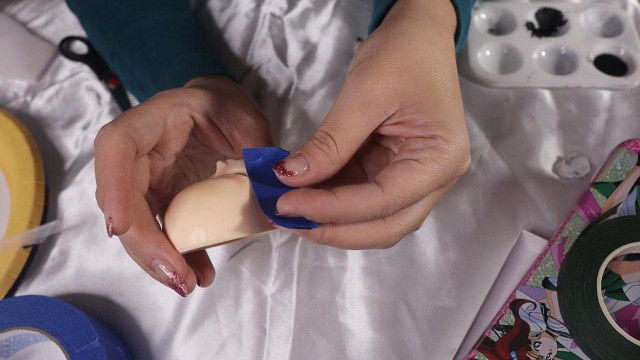
Get your good ol’ friendly painters tape and place down your tape onto the eyebrow areas where you can imagine them. Get a pencil and draw onto the tape where you want the brown and what you want it to look like. Fill in the shape and then when you are done peel it off.
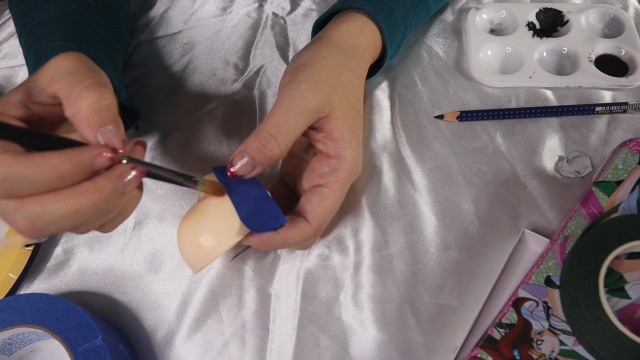
Place the tape onto a flat surface that you can cut onto of. I used a cardboard box lid and cut out the shape with my Xacto knife. Once you cut the shape peel it off the surface and then place it onto your BJD head. Make sure it is lined up and put where you want your BJD eyebrows to be.

Then with your pastel fill in the stencil. I would recommend using a light color if you just want a base for your eyebrows.
After you have your base stencil you can now fill in hair lines with acrylic paint or water color pencils.
Get your faceup on!
I hope that these hacks helped in some shape, way, or form. I know doing faceups can be tricky, especially when you work on parts that need 2 parts (eyebrows,

Recent Posts
Come join my BJD Newsletter where you will learn about new dolls coming out, BJD doll sales, and artist highlights! There will also be other BJD goodies just for you!
When to Restring: Recognizing Signs Your BJD Needs a Tune-Up
Learn how to recognize signs your BJD needs a tune-up and restringing process. Maintain your doll's stringing for longer life with this step-by-step guide.