Doing a faceup for a BJD doll is fun and rewarding. It further helps you bring life to the character you have in mind for your dolly and makes it more unique. Although I do not claim to be a professional faceup artist, I have been doing faceups for about 10 years now. I hope that this guide helps you if you are thinking about starting your own faceups.
Helpful tools
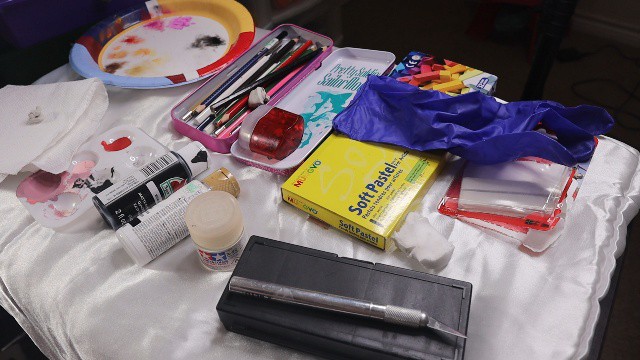
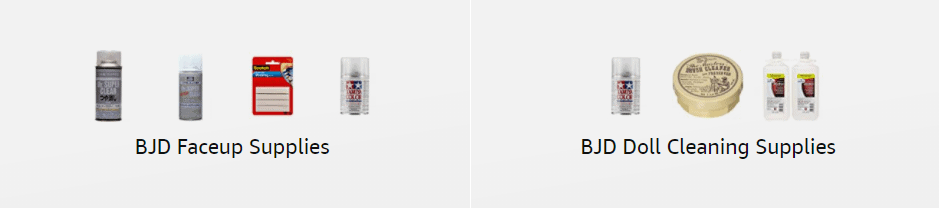
I do happen to have a Amazon list with faceup supplies that I use on the regular. Feel free to check it out and try out some of the products that I already trust and use.
- Chalk pastels
- Acrylic paint
- Watercolor pencils
- Watercolor paint
- Gloss (acrylic based)
- Sealants: Matte/clear (see article on recommended choices)
- Q-tips
- Cotton balls
- Magic clean erasers
For cleaning:
- Winsor and Newton brush cleaner and restorer for acrylic mediums
- Rubbing alcohol/Isopropyl alcohol (80% or higher)
- Non-Acetone polish remover (unscented and non colored)
The dos and don’ts
Dos:
- Use water based items (acrylic paints, chalk pastels, acrylic gloss)
- Seal your layers to save your work
- If you use a new kind of paint or product test it out on the head cap first
- Look at drawing references for drawing lashes and eyebrows
Don’t:
- DON’T use sharpies
- DON’T use nail polish
- DON’T use human makeup
- DON’T use any products with oils in them
- DON’T forget to use your sealant (a faceup that isn’t sealed will not last)
Working in layers
When people say “work in layers” that means that you do each part of the faceup in parts. You also build from the base of your faceup to what is on the very top. People might have slight variations on what they start on first but the main idea is do to your basic shadows and pastel colors, then move onto darker pastels and watercolor pencil work, throw in some acrylic, and lastly gloss.
Get an idea
Before you even pick up a brush you need to have a general idea of what you are going for. I really think looking at makeup looks and building off of that is a great way to start. If you are looking for something more specific then I recommend that you draw it out. I have used blank makeup templates before and colored it in with my idea.

Map out what materials you might need as well. Are you going to want shimmer? Then you need to whip out that Pearl Ex. Do you want to add some embellishments? Then maybe invest in some nail art deco. Have your materials ready to go before you dig in.
Hold up…but first let’s spray
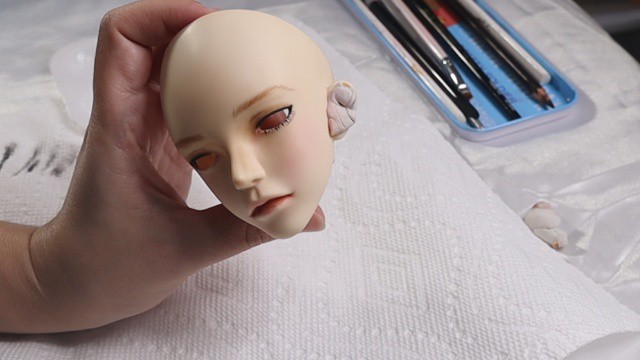
If you are ready to take that first leap and get busy with your pastels HOLD UP. You need to first make sure you head is completely clean. If your doll has a previous faceup on it you are going to want to clean it off before you start a new faceup. Check out my article about cleaning BJDs to see how to do that.
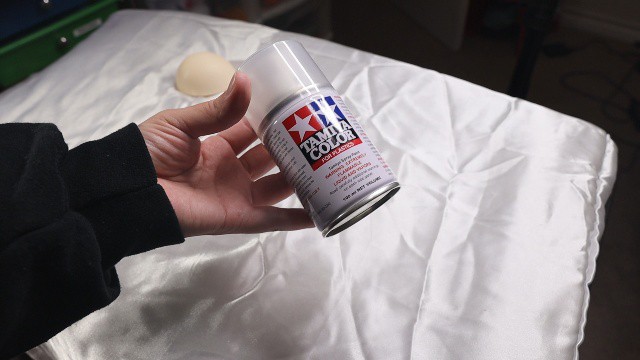
Let’s say you got your dolly in brand spankin’ new and you ordered it blank. Well you still want to make sure there is nothing on the dolly so go over it with a magic clean eraser. After going over your dolly with the magic clean eraser make sure there isn’t any dust from the eraser on your dolly.
Now that you dolly is totally clean, spray that bad boy (or girl) with some sealant. Let the head dry for a good 15-30 min before starting your work.
Prepping Pastels
I know you might be excited to jump into doing your first faceup but let’s talk pastels. Once you have an idea of what colors you are going to need get ready to grab your pastels, a paper plate, and a X-Acto knife.
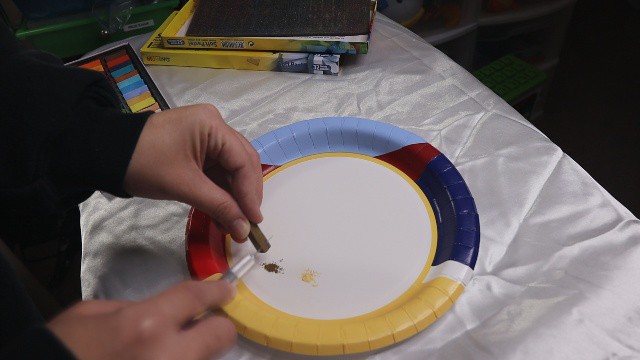
You are going to lightly at an angle scrape the pastels and make shaving piles on your plate. Be very careful as to where you place this plate as you do not want to accidently tip it over and send your pigment flying. Shaving down the pastel to little piles of powder and using your brushes dry to apply is how you will achieve placing colors and shades. It is also good to have a cotton ball on hand for blending.
Basic shadows and shades
Ready to get started? Where do you even start? Since we are working in layers we need to start with what is underneath it all. Shadows and shades. Remember those pastels you shaved down? Time to use your brush and start applying color.
A lot of what you do in this first layer is just ground work. Concentrate on color to the cheeks and some shadow for depth in the eyes. Also start that foundational color for the lips too!
Check out some videos on contouring too if you want to get a good idea on where to place some basic shadows.

After you do your basic shadows you can either spray this layer or do the next layer and then spray it. Just make sure that this initial layer is just a light coat.
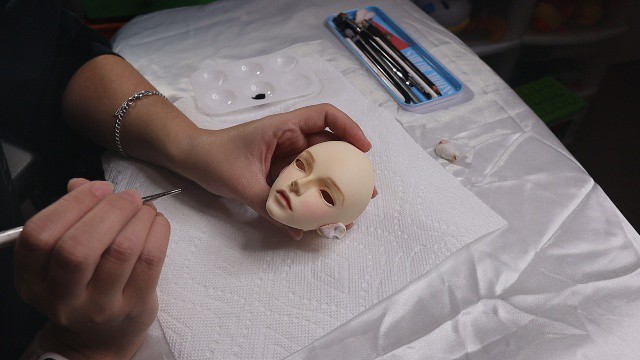
Starting with the eyes
Eyes are really fun to do. Here you want to add any colors you need. Use smaller brushes to get in the areas you want with pastel. Also don’t forget the tear ducts. Hit those up with some light pink to give it more realistic look to the eye. Here in this stage you can also start laying down a foundation for eyelashes with a watercolor pencil in a light shade. Same thing with placement for your eyebrows. Use a light color and a angle brush to map out where you want your eyebrows to go.
The dreaded eyebrows
This is a tough part. People do eyebrows differently. I like to start from the inside and work my way out. I also like to use a very nicely sharpened watercolor pencil to start my first hair lines. look at pictures of eyebrows to get an idea on how the hair looks on the eyebrow.
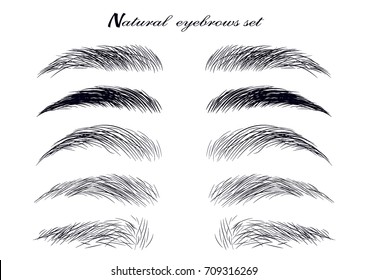
You have to find a balance of what you want. Do you want it super realistic or more cartoon? Look up several references to get a feel for what you like. Also, try drawing them out on a sheet of paper before trying it out on your doll. Try not to stress out if they aren’t EXACTLY the same. As I have heard before, your eyebrows can be sisters – they don’t have to be twins.

Once you have it drawn out onto your doll with your water color pencil you can either fill in more of the eyebrow with the color matching your wig using a angled brush and pastel. Hold off on sealing until you do the next part.
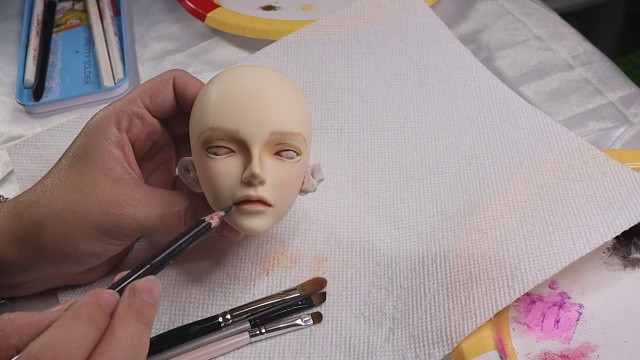
Lip work
A smile says a thousand words! Let’s work on those lips. Personally I have strayed away from doing lip lines but there are people out there that love it! Again, this is where you as the faceup artist will take charge and do what you want. If you choose to do some lip lines I suggest using a very sharp water color pencil or very thin brush with some acrylic on it.
One thing I have been enjoying is creating a lip curve. I use a dark color pencil (usually black) and at the corner of the mouth I create a very thin small line that can make the lips look like a smirk. It is such a small detail that can change the look of your lips. After this work go ahead and seal and get ready for the next fun part…acrylics!
Getting started with acrylics
Some things that are handy to keep around when using acrylics would be a small bowl of water, paper towel, plastic pallet, and some q-tips (dipped in water can help correct small mistakes). Acrylics are good for fine details as long as you have a good brush. I highly recommend the Warhammer brushes for fine details. Basically any brushes that are labeled for miniatures are great.
I have used a paint thinner in the past as well but to be honest with you I usually thin out my paint with just water. Know that acrylic paint does dry pretty fast so you are going to want to only put down a little bit of paint into a pallet so you don’t waste anything.
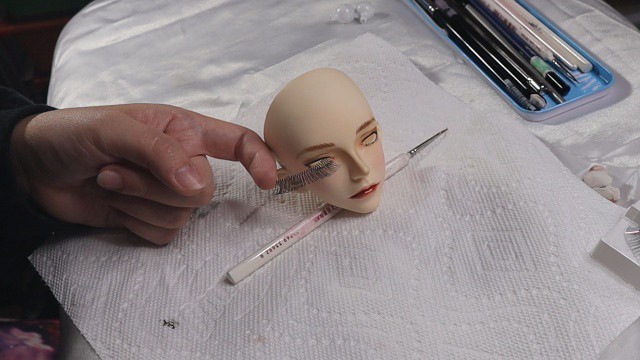
Eyelashes, eyeliner, and eyebrow hair lines oh my!
Drawing fine details such as eyeliner or eyelashes take time and practice. You can take out that trusty sketch paper again and practice your lines there before trying it on your doll. There are so many different kinds of styles when it comes to doing lashes. Some people like very full, other like thin, and sometimes less is more.
This is also a good time to look into eyeline videos too! Check out makeup tutorials on how to do wing liner if you are looking for that. Just make sure you are using a nice detail brush when working on these pieces.
If you happen to make a mistake don’t panic! You can use a corner of a slightly damp Mr.Clean eraser or even a q-tip. There have been times where I made a lash here or there too long and I just quickly swipe it off with a q-tip to match the lenghth of the others.
At this point since this is some serious work you just did I would recommend sealing in your acrylic.
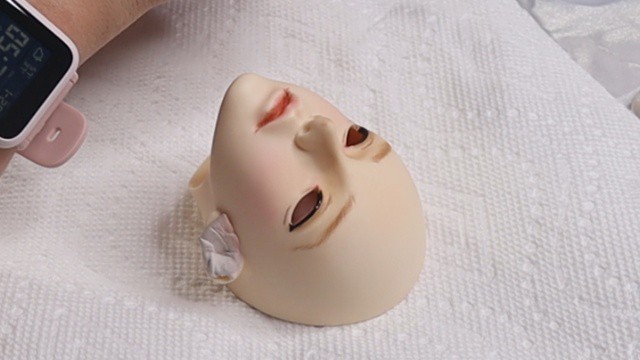
Stop and check (more pastel or acrylic?)
Your faceup is looking great so far! It is really coming together! So here is where you have to evaluate if there is anything missing? Can your dolly use more pastel in areas? Is there other spots that need acrylic work. I usually will also at this stage think about birthmarks, tattoos, or freckles. If you are looking to add any of those details now is the time! This will also be the last time you can spray your dolly if you make changes. The next step is gloss and generally you don’t seal after gloss is applied because it can matte out your gloss.
Let’s get glossy!
This is the cherry on top! Here we get to gloss parts to make them shine! Some great places to use gloss are…
- lips
- eye ducts
- eyeliner
- eyelash lines (if done in thin strokes over your lashes)
Note that gloss will take some time to dry. I will no joke usually give it the rest of the night to fully set and dry. Read what is on your gloss bottle as to how long it takes to dry.

Also don’t forget to clean your brush right away after you gloss. It is not fun having it dry on your brush and try to clean it after.
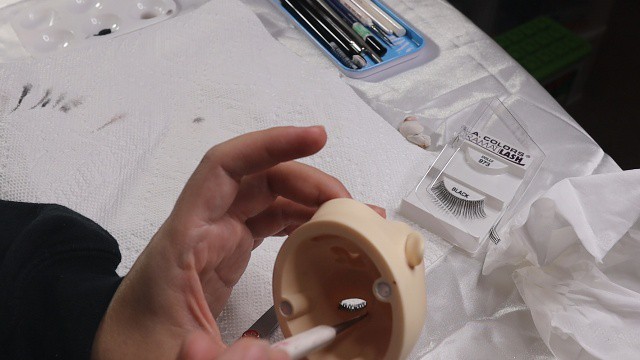
To fake lash or not to fake lash…that is the question
Fake lashes are a great touch to BJD faceups. However I don’t really feel like they make or break a faceup. I think it’s a nice thing to have but a lot of my dolls don’t have false lashes.
Do you want to try to apply some on your dollie? Well here is what you need.
- a set of false lashes (I have purchased lashes from a local drug store and even found some at a dollar store)
- white elmers glue
- scissors
- paper towel
Check out my other recommended faceup gear!
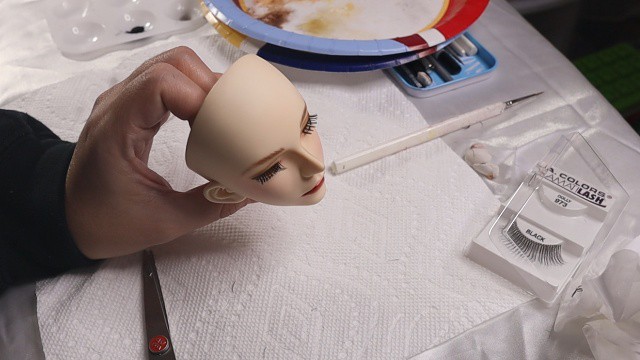
First you are going to want to measure your BJD eye and make sure you cut your lashes to fit. You can do this by measuring the eye opening with measuring tape and cut the lashes strip slightly smaller.
Once you have your eyelash strips cut get your glue onto a plate or pallet. Dab your brush into the glue and put it on the base of the lash line. Next you are going to want to carefully insert it into the eye socket. Use your brush to pat it flat to the inside of your eye.
I usually aim to have it stick to the flat part of the inner eyeline. I have seen others go further into the eye and glue most of it to the inner socket. Find where you feel it looks best. Give the glue time to try before putting your eyes back into your doll. Again I usually give it a good 30 minutes or so to fully dry. Apply more glue if needed.
After you finish with this that it! You have now completed a faceup! Hooray!
Quick overview
So in summary you can follow these steps in your faceup process.
- Clean your BJD Head and apply first coat of sealant.
- Prep pastels and other materials to match your doll.
- Basic Shades and shadows
- Eyes
- Eyebrows
- Lips
- Acrylics (eyes, eybrows, lips)
- Check for last min pastels/acrylic work (this is the last time for sealant)
- Gloss
- False Lashes
Relax and give it a try…

Everyone has to start off somewhere. I know my first faceups were not the greatest. With time and practice though I feel better about my faceups and more confident in doing them.
I have even gone as far as accepting commissions! Just remember to have fun and just try your best!
This is my info page for faceup commissions https://bit.ly/3o3ZTUc
Check out my video on YouTube showing you step by step.
Recent Posts
Come join my BJD Newsletter where you will learn about new dolls coming out, BJD doll sales, and artist highlights! There will also be other BJD goodies just for you!
When to Restring: Recognizing Signs Your BJD Needs a Tune-Up
Learn how to recognize signs your BJD needs a tune-up and restringing process. Maintain your doll's stringing for longer life with this step-by-step guide.