This post is going to be filled with tips and tricks all relevant to cleaning resin dolls. There are different things you can use to help maintain the cleanliness of your doll. In this post, I’ll walk you through a couple of things that I use.
Before I start I don’t consider myself a BJDologist or anything. These are just things that I have gathered over time and learned from other people and I want to share my experiences with you!
How often should you clean your doll?
I get asked this question a lot. It depends on a couple of different factors. One is, what your doll is currently wearing? Dark clothes tend to stain the resin more so than lighter colored clothing. Therefore if you see light staining that would be a good indicator to do some cleaning.
You should also occasionally check whether the sealant is still in place. Is your doll shiny or feel very smooth? Does your doll have a kind of matte feel to it? If it is shiny and smooth that might be a signal to clean and reseal. Most sealants will leave almost a satin or matte feel to them. Resin that has not been sprayed has a very smooth feel to it.
To be honest with you, I probably clean my dolls maybe once a year. Although it’s not bad to be a stickler, I would suggest you check on your dolls at least once every month. Make sure they don’t have stains or anything like that on them. You don’t have to reseal it with MSC every month, only when you feel or see there is a need.
Are all dolls cleaned alike?
There are different materials and processes to clean different types of dolls. I’ll make separate posts on cleaning vinyl and ABS dolls. But for today, we will concentrate on the resin.
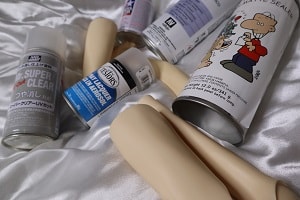
What tools do you need to clean your resin dolls?
Here is a list of tools you need to clean your resin BJDs:
-A pair of gloves
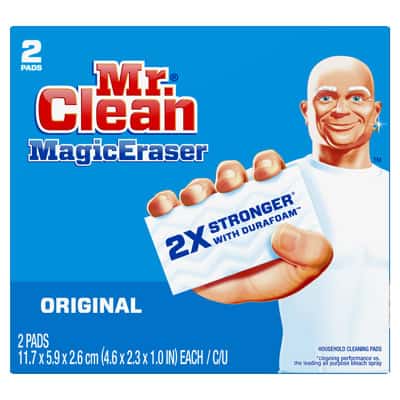
-Magic cleaner eraser (plain white original)
-Winsor and Newton brush cleaner and restorer (this is when you have a very heavy duty stain to remove because this will remove everything, including the face-up)
-Rubbing Alcohol (higher than 70%, I have a 91%)
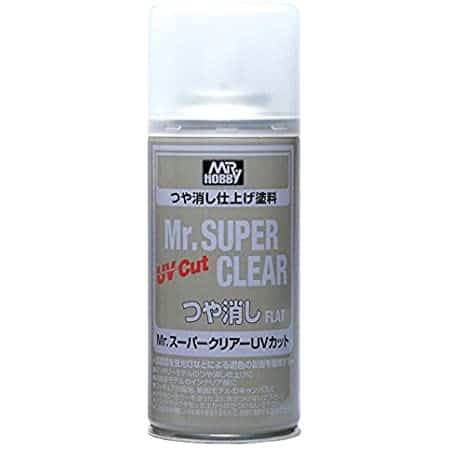
-MSC (Mr. Super Clear in Flat Matte) or a trusted sealant (see my article here on sealants)
-Paint/Vapor Respirator Mask

I would suggest you use the restorer and rubbing alcohol only when you can’t erase something with the magic cleaner eraser. The Winsor and Newton brush cleaner is very strong and if you leave it on your doll for a long time it could cause damage.
I would also suggest you do a complete wash of your doll with a clean unscented soap after you have done cleaning with the Winsor and Newton brush cleaner and restorer or the rubbing alcohol. You don’t want these products to stay on the resin. It’s best to clear them off completely. It’s better to be safe than sorry.
Depending on where you live it may be hard to find MSC (Mr.Super Clear) in local stores. It’s always like looking for a needle in a haystack. Although, there are a couple of places online that do sell it. Note that you could be paying $16 to $20 for a can depending on where it is shipped from, shipping is going to be crazy as well. This is because you are essentially getting shipped a hazardous material and so a lot of companies have to pay extra insurance in order for it to be sent out.
I would recommend looking into other trusted sealants as well. I actually tested out several local hobby store sealants and did a article on them. Feel free to check it out!

You will also need a ventilation respirator mask. You can’t use a surgical mask to spray because the fumes still go through. You need something that can ensure you are completely safe. You don’t want to get the MSC or any sealant into your lungs because it could make you really sick.
Even though this mask is going to cost you a pretty penny, it’s still worth it because your safety is priceless. Safety is key, so get these materials when you decide to clean or modify your dolls.
The actual cleaning process
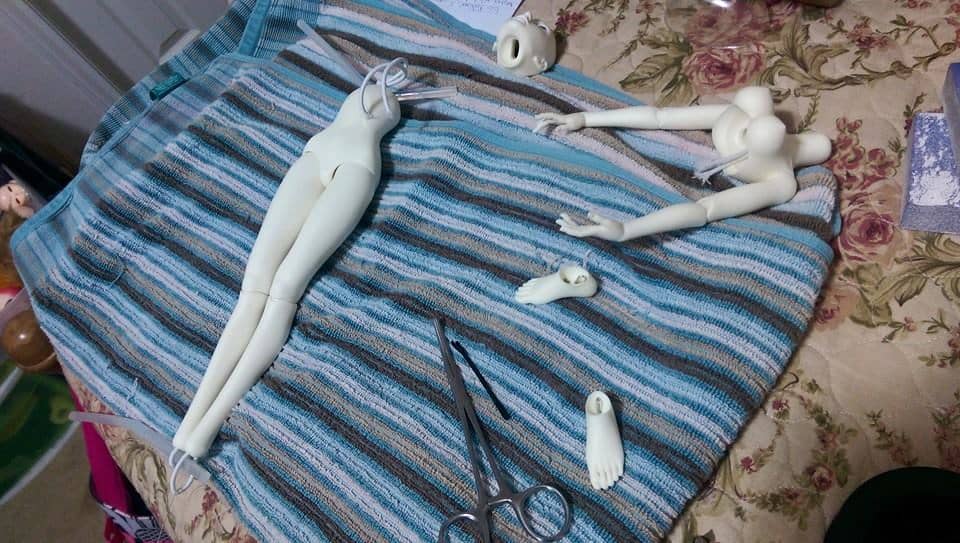
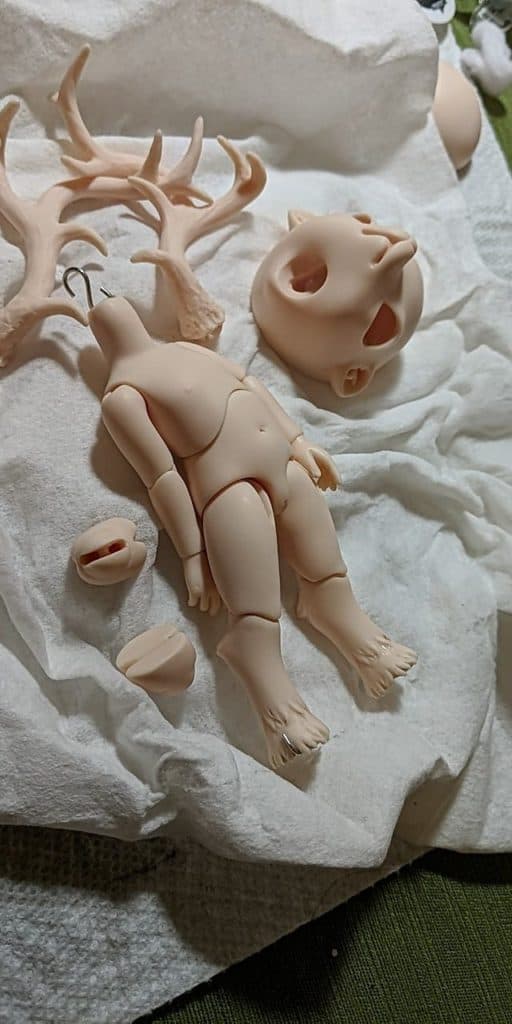
Step 1: To clean any doll you obviously have to take everything off the doll. This includes its clothes, hair, shoes, or any other accessory that is on it.
Step 2: Make sure to gather all the materials needed and get your gloves on.
Step 3: Get a piece of magic clean eraser out of the box. You don’t need the whole eraser. You can cut it into parts and use those smaller pieces. That way you can have more to use later.
Step 4: At this point, you can put your mask on because you might start noticing particles from the eraser start flying around once you start scrubbing your dolly.

Step 5: Start cleaning the doll with the magic cleaner sponge. If you want to clean them thoroughly you can take the parts off and clean them individually. You might not be able to get to the sockets without taking the doll apart. So, depending on what level your doll needs to be cleaned on, decide for yourself whether or not will you do the cleaning in parts or on the whole.
Step 6: Once you have cleaned off the doll and you are pretty satisfied you can look for any stains that are still refusing to come off. Use something heavier like the Winsor and Newton Brush cleaner (for acrylic mediums) or rubbing alcohol in combo with a Magic clean eraser to fight those pesky stains or acrylic that refuses to budge.
Step 7: If you used rubbing alcohol or Windsor and newton make sure to clean the doll parts with a clear unscented soap and water. Let is dry for about 10 min before doing any further work on them. If you were able to clean them nicely enough with the magic clean eraser and the MSC seems fine then you can stop at this point.
Step 8: Did you need to use Windsor and newton or rubbing alcohol on your doll? Did you let the dolly dry after cleaning it with soap and water. You can actually put the parts through running water. Let’s check the doll and make sure that it is dry and completely cleaned before going to the next step.
Step 9: Now it’s time to put sealant on your doll. There are a couple of ways to do that.
-You can put your doll in a box and spray it on both sides (Flip em like a pancake).
-You can take each part apart and spray them.
-You can hang or put each part on a post and spray on it.
Be sure to spray in a well-ventilated area. Don’t forget to wear your mask and gloves don’t hurt to wear either.
I like to use a cardboard box to serve as a safe place for my doll to sit and dry . Let them dry for at least 15-20 min. Honestly sometimes I do it for 30.
Step 10: Re-assemble your doll if needed and enjoy their new clean appearance.
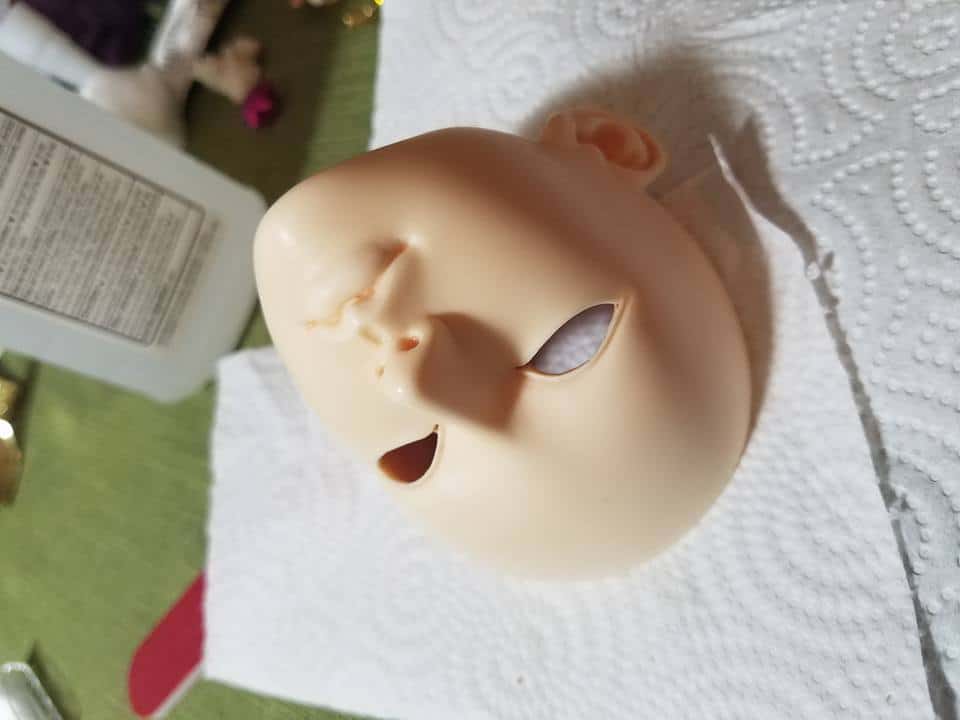
Removing a Faceup
To remove the faceup of your doll you will need something stronger than a Magic Eraser. You are either going to use the Winsor and Newton Brush Cleaner and restorer or rubbing alcohol.
Step 1: Grab a cotton ball or paper towel and use either the Winsor and Newton or rubbing alcohol (both will remove a faceup). Wipe the face and apply more solution onto your cotton ball if needed.
Step 2: If you still have tough spots use a tooth brush to clean lip creases and eye lid areas. You can even use a Magic Clean erasers in combo with the solution as well.
Step 3: Wash your doll head with a clear, non scented soap and water. Leave the doll head to dry for about 15-20 min
Step 4: After the doll is done drying you can apply a sealant to make your doll is nice and protected.
Now your dolly is clean!
I hope this post was informative to anyone who was curious about cleaning a resin BJD. Just remember to use safe products for your dollies and give them plenty of time to dry and let sealant set on them. You can do it!
Do you have something else you use to help clean your dollies? Tell us in the comments section down below.
Recent Posts
Come join my BJD Newsletter where you will learn about new dolls coming out, BJD doll sales, and artist highlights! There will also be other BJD goodies just for you!
When to Restring: Recognizing Signs Your BJD Needs a Tune-Up
Learn how to recognize signs your BJD needs a tune-up and restringing process. Maintain your doll's stringing for longer life with this step-by-step guide.