Introduction: The Art of Stringing a Ball-Jointed Doll
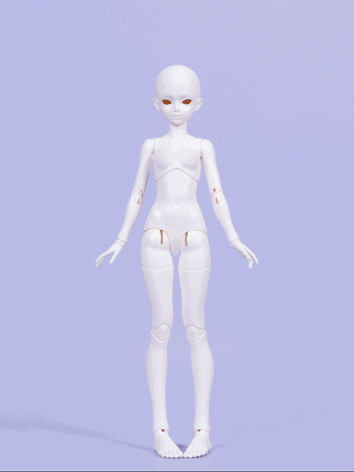
The world of ball-jointed dolls (BJD) is fascinating, filled with intricate details and customizable features that allow enthusiasts to create unique and captivating characters. These dolls have movable joints that allow for an incredible range of motion, making them perfect for posing and creating stunning displays. However, to ensure your doll moves smoothly and realistically, it’s important to know how to string them properly.
Each joint has a series of hallow spaces that the elastic cord is threaded through. This allows the doll parts (head, torso, limbs) to move fluidly with great articulation.
Their popularity has grown steadily over the past few years due to their beauty and lifelike appearance. These intricately detailed dolls come in all sizes – from tiny 10cm dolls up to 80cm dolls – with interchangeable heads, hands and feet that allow owners great flexibility in personalizing their collection.
The Importance of Stringing a Doll Properly:
Stringing a ball-jointed doll is essential to maintaining its functionality because it affects how well the doll can pose or hold certain positions. If strung too tightly or loosely, the joints may not move as intended, affecting the overall aesthetic appeal. In addition, improper stringing can cause damage over time by wearing down the parts faster than normal usage would otherwise dictate.
So whether you’re an experienced collector looking for advice on how best to string your dolls or a newcomer to the world of ball-jointed dolls, read on to discover the ins and outs of proper doll stringing.
Tools needed for stringing a ball-jointed doll
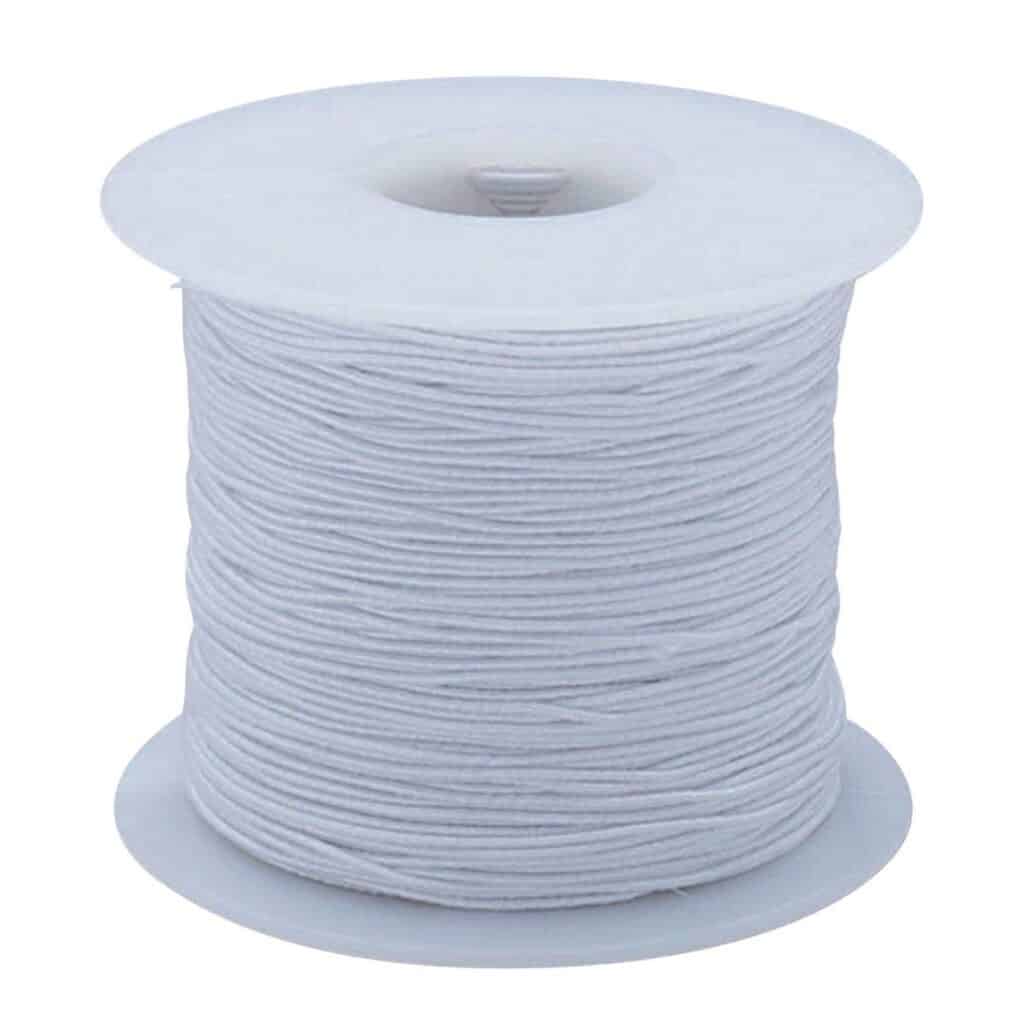
Elastic cord
An elastic cord is one of the most critical tools for stringing a ball-jointed doll. You should choose an elastic cord that is thin enough to fit through the joints but strong enough to support the weight of your doll. The length of the cord will depend on the size and number of joints in your doll.

When buying an elastic cord, make sure it is made from high-quality materials to ensure it won’t break or snap easily. You can find elastic cords in most craft stores or online shops that specialize in BJD supplies.
Most online doll stores will label them for the different dolls sizes so make sure you get the elastic for your doll.
Needle-nose pliers
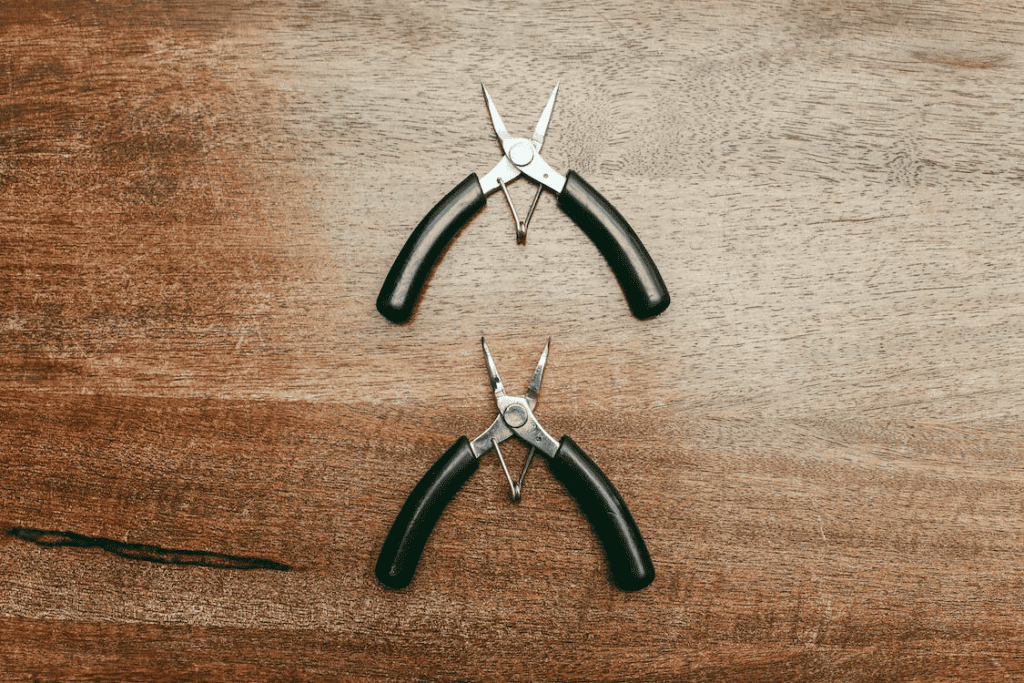
To string a ball-jointed doll, you will need needle-nose pliers to help you thread the elastic cord through each joint. The pliers have a narrow, pointed end, which makes it easy to grip and maneuver the elastic cord through small openings.
When selecting needle-nose pliers, ensure they are comfortable to hold and have a firm grip. A good pair of pliers will be durable and long-lasting, so invest in high-quality ones if possible.
Surgical Clamps

Don’t sweat it- we aren’t doing anything crazy like surgery but this tool will help hold strings in place. If you don’t have strong grip or a friend to help hold pieces at times this tool will be a life saver. You can use it to clamp of string at the end of a limb while you place the s-hook at the end.
Crochet Hook VS Curling Ribbon
These are optional tools you can use that can be helpful for pulling elastic cord through the pieces. Most veterans can restring a doll and feed the elastic through the parts with just a curling ribbon or string. Not all the time will the needle nose pliers reach through BJD parts to pull that elastic through.

Another tool you can use is a thin crochet hook. Keep in mind that it will need to be thin enough to go through the skinnier pieces like arms and legs.
Steps to Stringing a Ball-Jointed Doll:
1. Remove the old elastic cord: Before beginning to string your ball-jointed doll, it’s important to remove the old elastic. Begin by starting at the head. Remove the head and place it in a safe place. Then you can either work on the loop of elastic that is in the torso for the arms or the legs. Start at a limb of your choice and carefully unhook it from the elastic. Make sure to use the string or crochet hook to ease the tension. If you remove the hook and let the elastic go it will snap through the body-so be careful.
Don’t toss that old elastic just yet though. It can work as a guide for you to cut your new elastic.
Another tip is to lay our your pieces in order. Make sure you can sections labeled for left and right body parts too!
2. Thread the new elastic cord through the joints: So as you probably saw when you were taking your doll a part. Most dolls have 2 large loops of elastic. One loop is horizontal across the chest and goes out through the arms and hooked at the s-hooks at the hands. The other loop is vertical and is like an upside down V shape that is fed from the neck piece and down to each leg hooked on the s-hooks at the feet.
When putting in the new elastic you are going to follow that same process. Remember that old elastic we were not supposed to throw away just yet? You can use that elastic to make new loops of elastic for your arms and legs.
3. Put the head back on top it off: So you are going to know if things are too tight or not as soon as you put that head back on. The legs elastic is what usually gets looped into that s-hook in the head. If your elastic is too tight you will have a very hard time pulling it up and through the head. If it is too loose then you will notice your doll cannot even sit up.
This is where you will need to adjust things and see if you need to move your knot up or down.
Tips for maintaining your strung ball-jointed doll
Regularly check tension and restring as needed
Regarding ball-jointed dolls, proper tension is key to achieving the perfect pose. Like an old elastic band, an elastic cord eventually loses elasticity, leading to loose joints and floppy limbs.
To avoid damage and disappointment, it is important to check the tension of your doll’s regular stringing – especially if you notice that it isn’t holding a pose as well as it used to. To check the tension of your strung ball-jointed doll, hold it by the torso and move each limb gently through its range of motion.
If any joints feel loose or wobbly, it may be time for a restringing session. While this may seem intimidating initially, remember that with practice comes confidence – not to mention a perfectly strung doll!
Avoid exposing your doll to excessive heat or sunlight

While it may be tempting to display your beautiful ball-jointed doll in a sun-soaked window, doing so can lead to damage from UV rays over time. Yellowing is a thing that happens to all dolls but you don’t want to speed that process up by keeping them in direct sunlight.
To keep your ball-jointed dolls safe from heat damage, opt for cool display locations that are out of direct sunlight.
Check, check, and check again
Checking your dolls string tension is super important because you may thing that tighter is better but it can actually damage your doll. Dolls that are strung very tightly can cause the joints to rub on each other and even can crack thinner wrist pieces or ankle pieces.
Before you say you are done just make sure the doll can sit or stand nicely. If your doll snaps into a sitting position when you try to stand it- that is an indicator that it is too tight.
Adjust, adjust, adjust.
Conclusion
Importance of Proper Stringing for Optimal Performance
It is important to understand that stringing a ball-jointed doll is not just a matter of aesthetics. How you string your doll will directly affect its poseability, stability, and durability.
A well-strung doll will allow for smooth and natural movements that can enhance the realism and expressiveness of your photography or display. On the other hand, a poorly strung doll can easily become wobbly or loose, making it difficult to stand or hold poses.
It can also cause unnecessary wear and tear on the joints, which may eventually damage the resin or even break the parts. By following the steps outlined in this article and using appropriate tools and materials, you can ensure that your ball-jointed doll is strung correctly from top to bottom.
Remember to be patient and careful when threading the elastic cord through each joint, tying off knots securely, and adjusting tension where necessary. With practice and attention to detail, you will soon develop techniques for achieving optimal performance from your beloved dolls.
Reminder to Take Care of Your Beloved Ball-Jointed Dolls
(Image courtesy of Legenddoll)
In addition to proper stringing, you can do many other things to take care of your ball-jointed dolls and extend their lifespan. For example:
Keep them clean: Dust off your dolls regularly with a soft brush or cloth to prevent the build-up of dirt or grime on their delicate surfaces.
Protect them from sun damage: Avoid exposing your dolls to direct sunlight or heat sources, which can speed up the yellowing process.
Store them properly: IF you need to put your dolls away for whatever reason-Keep your dolls in a cool, dry place away from moisture or extreme temperatures. Use protective bags or boxes if possible.
Whether you are a collector, a photographer, or simply a fan of doll artistry, your dolls are more than just objects – they embody creativity and imagination. Cherish them as such!
Learn more on how to restring your BJD from my Youtube video.
Recent Posts
Come join my BJD Newsletter where you will learn about new dolls coming out, BJD doll sales, and artist highlights! There will also be other BJD goodies just for you!
When to Restring: Recognizing Signs Your BJD Needs a Tune-Up
Learn how to recognize signs your BJD needs a tune-up and restringing process. Maintain your doll's stringing for longer life with this step-by-step guide.