One of the greatest fear to some in the hobby is restringing.

Since your BJD is being held together by elastic cords, overtime they will loose their elasticity. You will notice that your dolls are not able to stand or sit up on their own very well. You might notice the limbs are loose and flop around. If you are noticing any of this, then it is time to restring your BJD.
Even though taking your doll a part into literal pieces might seem scary, I can guarantee you that once you try it you will feel LOADs more confident.
Materials that you need in order to restring a BJD
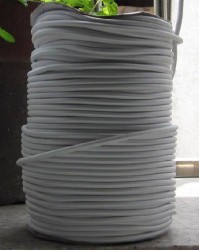
- Elastic
- Ribbon/string (if you are using the threading method)
- Scissors
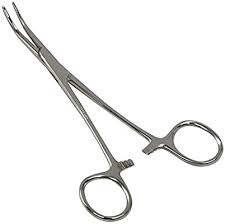
- Forceps (optional)
- Pliers(optional)
Where can I buy elastic for my doll?
Most BJD sites will sell elastic. You can also do a search for “Bungee cord” on Amazon and get some from there. Feel free to check out my Amazon list to see some options!
Elastic Sizes
Not all dolls use the same elastic. You will need to know what elastic your dolly uses. If you buy elastic from BJD site they will go off general standard sizes.
1/3 Or SD dolls- about 9 feet total
Standard thickness: 4 mm Feet/body, 3.5 mm hands
1/4 or MSD dolls- about 7 feet total
Standard thickness: 3.5 mm Feet/body, 3.0 mm hands
1/6 YoSD dolls- about 5 feet total
Standard thickness: 3 mm feet/body 2.5 mm hands
For the most part you should be able to use the same size for both the arms and the legs but some BJD sites you buy elastic will have a elastic set for the legs and one for the arms. Definitely check your doll and see if the elastic in the arms and legs are the same size, if they are not you may need to make some adjustments.
Know your parts
Before we start any work on the doll let’s get down the basics. BJDs typically have 2 loops of elastic.
One loop goes from side to side in the torso and is anchored by the s-hooks at the wrists.
The other loop starts in the head and is anchored by the large s-hook there and goes down to the legs. Down at the legs, the elastic is anchored by small s-hooks at the ankles.
So when you are changing out the elastic in a BJD you are only replacing 2 loops. Easy right?
Let’s get ready to dissemble…
Clear our a place that you can easily lay out all your pieces. Make sure that when you are taking your doll a part that you do not mix pieces up. Start at the head and using either pliers, or a string to pull the S-hook up and turn your BJD head so it can slip through.
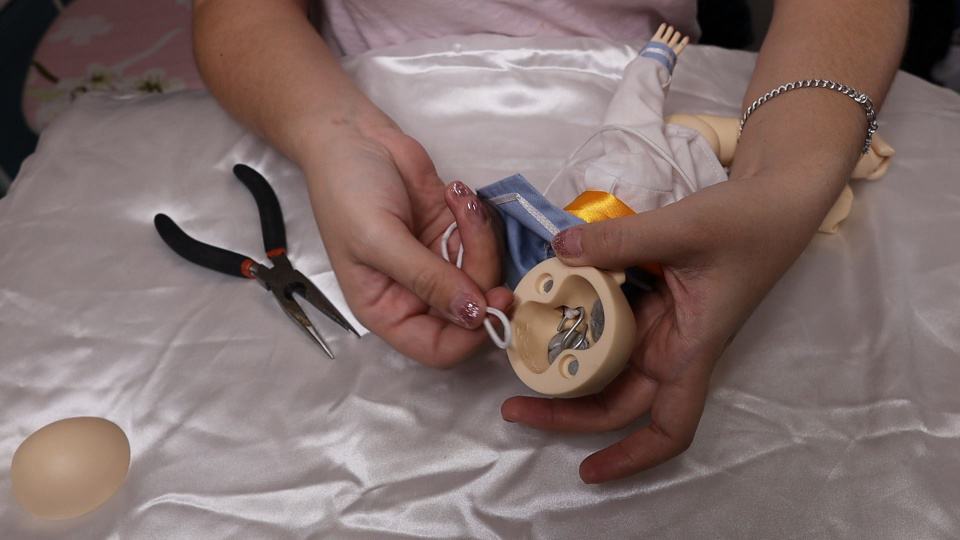
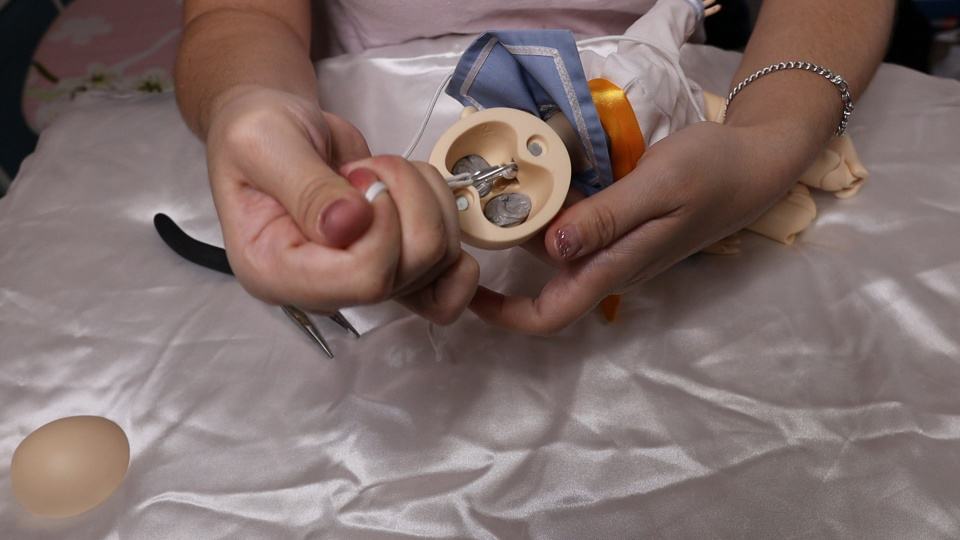
DO NOT slide the elastic off the S-hook! You are basically just turning it like a key to go through the slot at the base of the head.
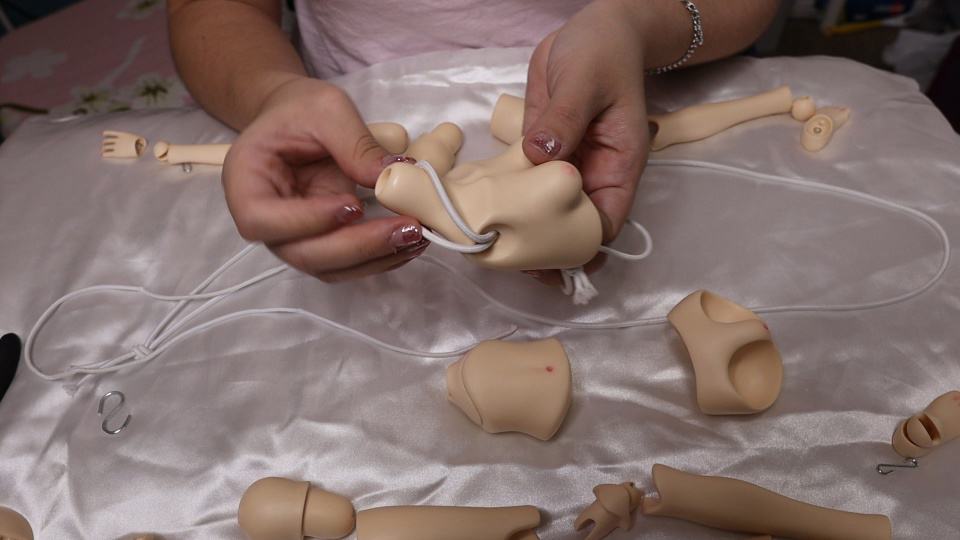
Next, you are going to want to either take a part the arms or the legs/body. I like to do the arms.
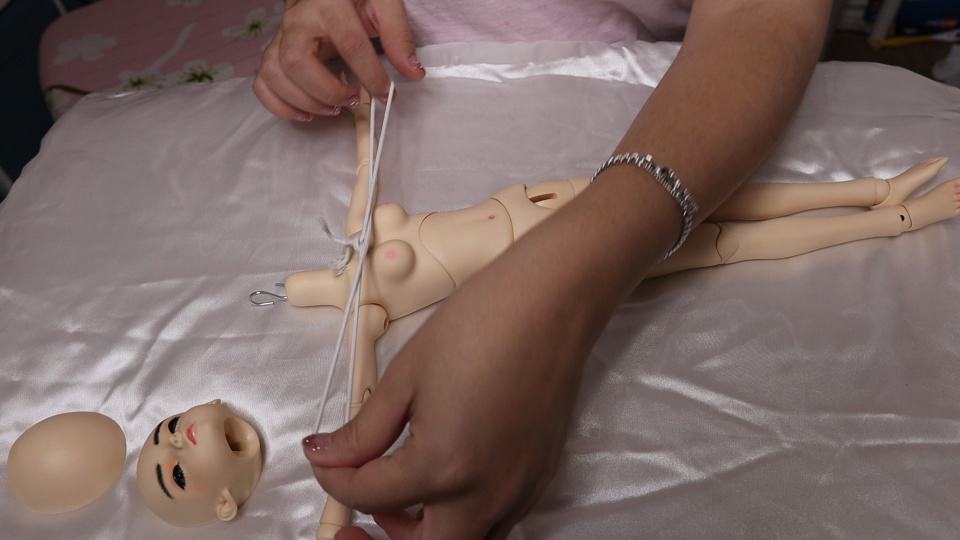
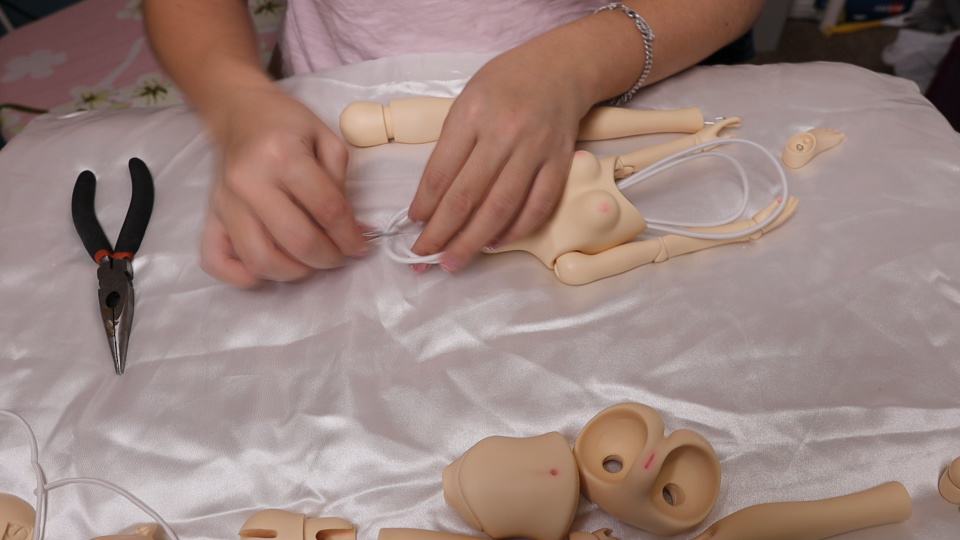
Slightly pull at the wrist and hand to expose the s-hook. Then thread a string or ribbon through the elastic. Once you have a grip on your ribbon, remove the s-hook from the hand and slowly release the elastic.
You want to do it this way because if you just remove the s-hook with no grip on the elastic on the inside, your arms will snap and pieces will go flying.
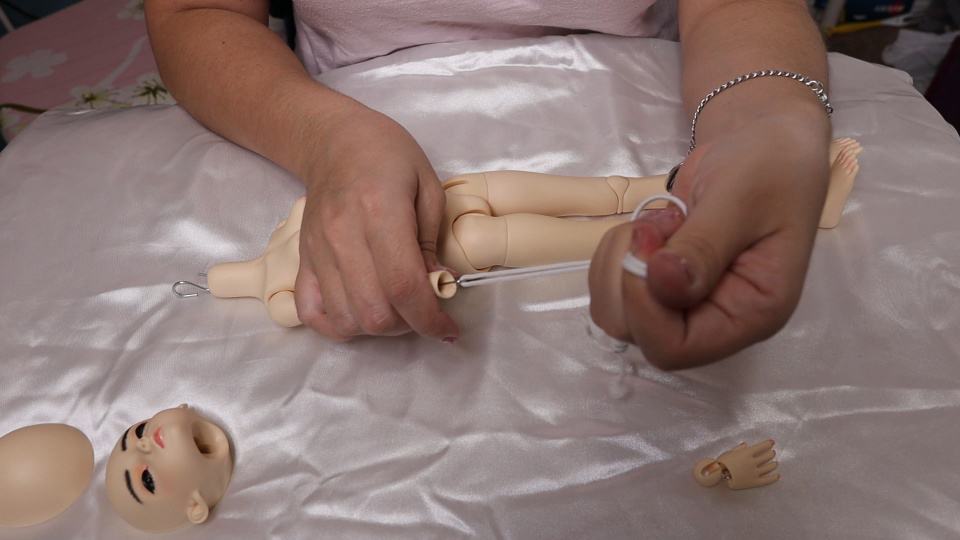
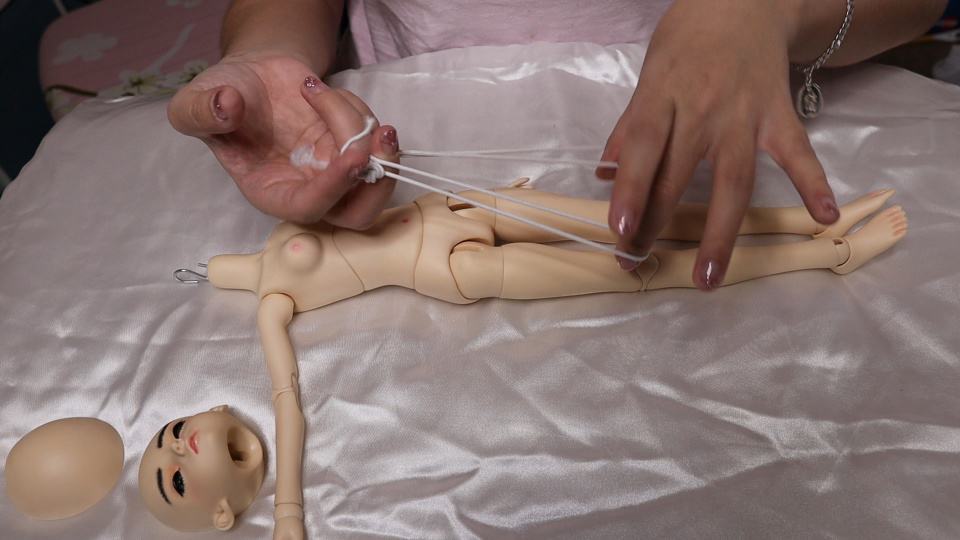
Do the same process with the other arm. Once you have removed both arms you will see just the 2 loops of elastic sticking out where the arms used to be.
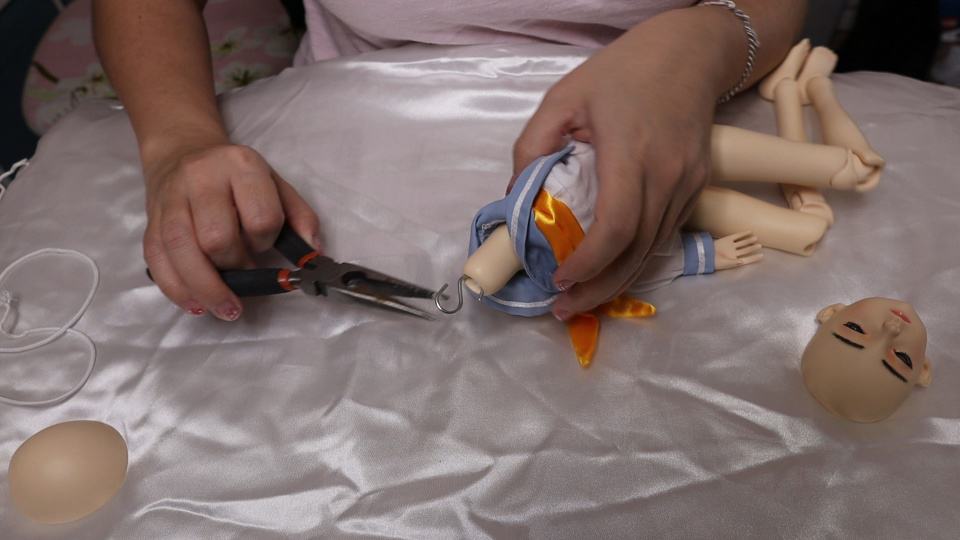
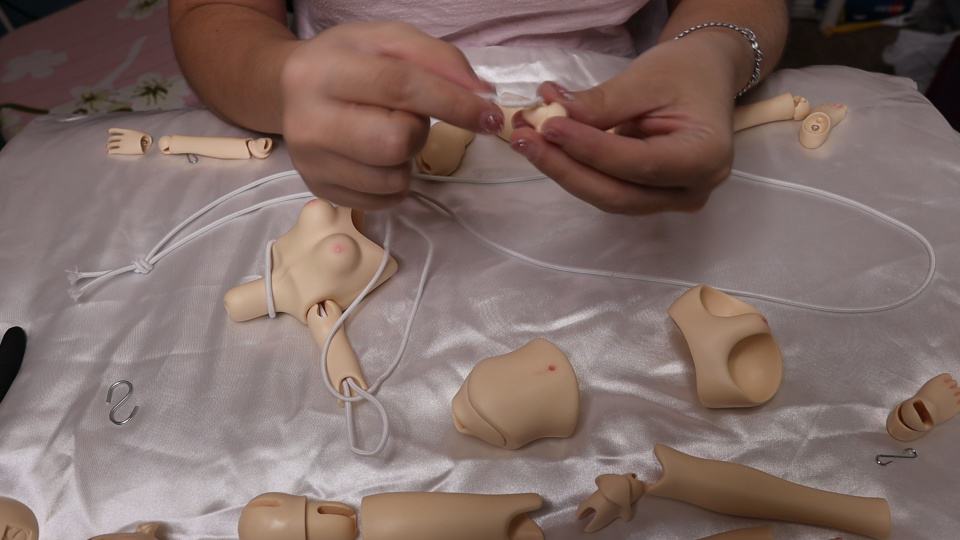
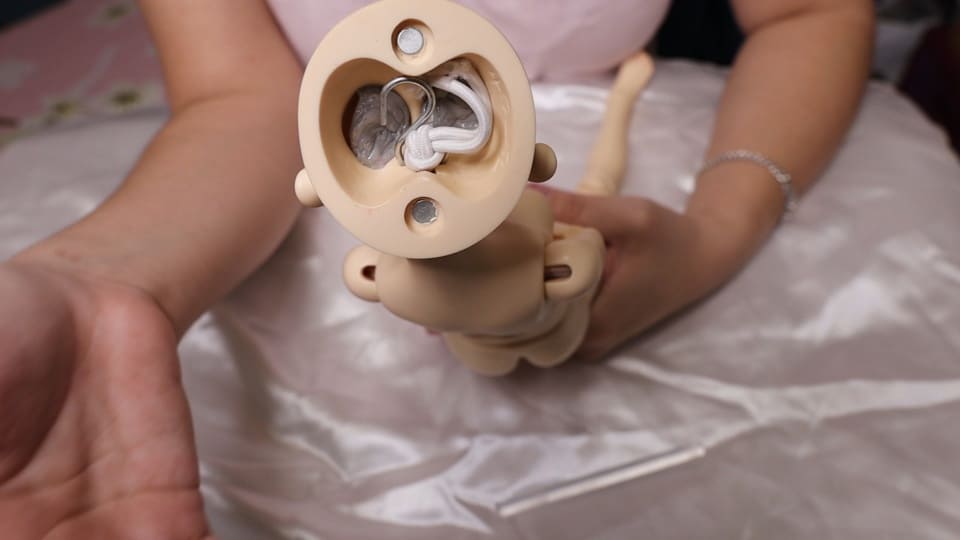
Next, let’s remove the elastic from the legs. You can either thread a string through the loop at the top where the large s-hook is for the neck and slowly release the elastic like you did the arms OR you can do it from the s-hooks in the feet.
Either way you are going to want to release that elastic slowly and carefully.
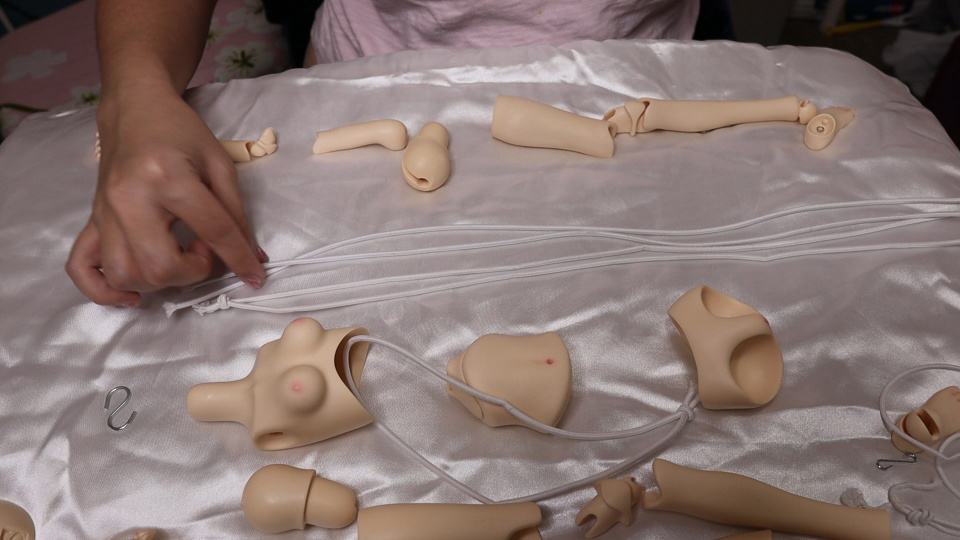
Once again, keep all pieces separated and only with their corresponding parts so they don’t get mixed.

Measuring new elastic
Once you know what elastic you are going to replace the old elastic with, it’s time to measure and cut. Line up your new elastic to the old elastic that was in the body. You are going to keep it at a similar length but make is just a tad bit shorter. I usually go for one knot size under the old knot. If you make the new elastic too short you run the risk of it not threading though the body all the way. When it comes to measuring the elastic that goes in the legs and torso you want to make sure you have it at a good size. If you make it too short it could make it very hard to pull through the head at the end.
When you have your new elastic measured out and ready to go make sure you tie it in a firm knot. I tried to look up what this type of knot is called and the closest I got was a “overhand knot” or a “overhand bow knot”

Once you have your new loops of elastic ready, let’s get started on re-stringing your doll.
Putting your doll back together (restringing)
Now the fun part…putting your doll back together. I don’t really think there is an order in which you should put your doll back. I usually like to do the arms first so let’s start there.
Arms

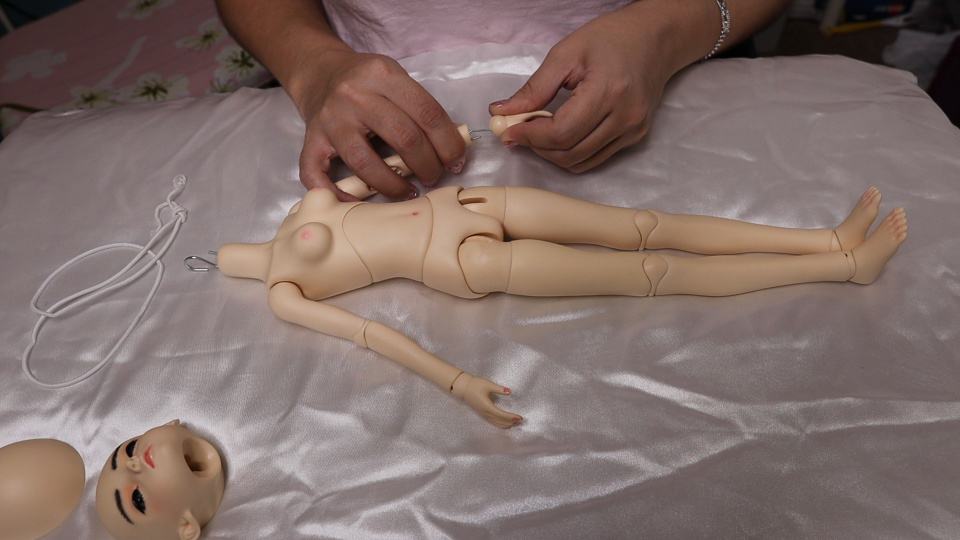
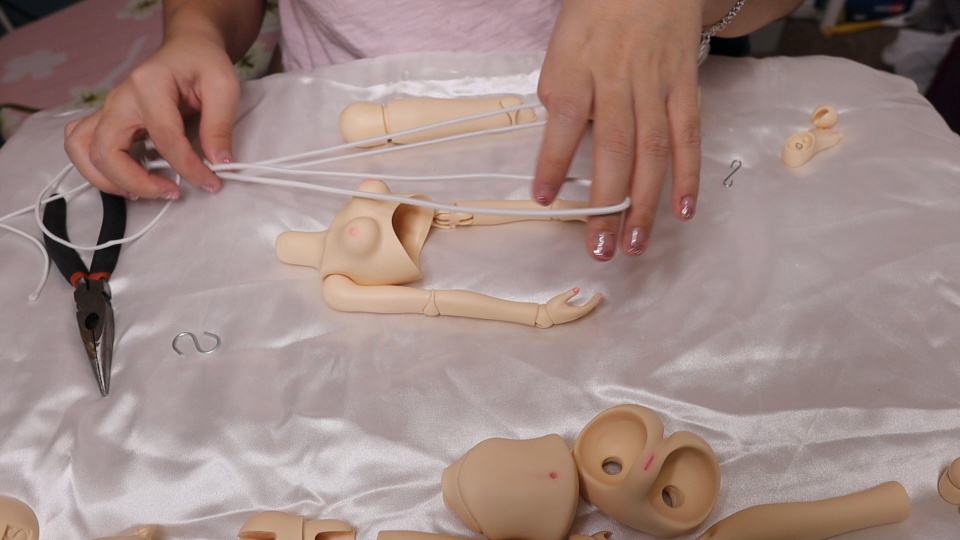
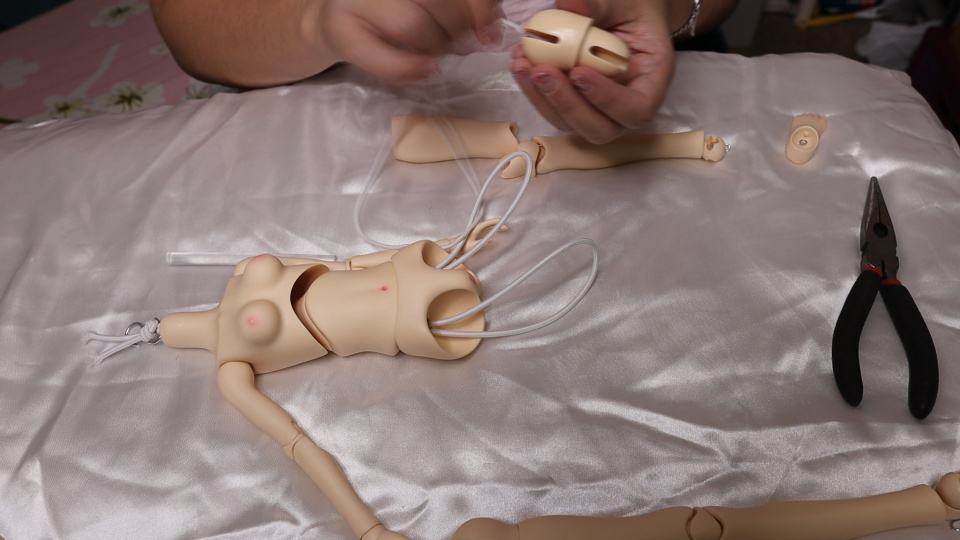
Get your loop of elastic for the arms and insert it into the torso. Using your trusty string or ribbon, lace it through the arm holes. Do this to the left and right arms. You should have 2 loops sticking out on both sides and the knot should be in the center.
Place one of the loops over the neck hole and start threading back the pieces on the open arm. You an use the ribbon/string to help you do this. Just make sure that you have all your pieces on correctly and they are on the appropriate side of the body. Once you reach the hand and your s-hook, carefully attach yours-hook onto the end of the elastic loop and attach the hand. This may take some patience to do and this is where the forceps are really handy.
You can essentially pull the elastic to where you have a good amount of the loop exposed so you can easily re-attach the s-hook and hand. If you do not have forceps you will need to hold the string with one hand and then attach the s-hook with the other. It is not impossible to do, it just takes more patience sometimes.
You are now ready for the other arm. Do the same process. Once you are finished both arms should be attached now. Check the knot on the inside of the torso and make sure it is still fairly centered.

If it is not you can pull and shift some the elastic around until it is more centered. You do not want that knot in the arm socket because it can impair the movement or not allow the arm to settle into the socket properly.
Legs
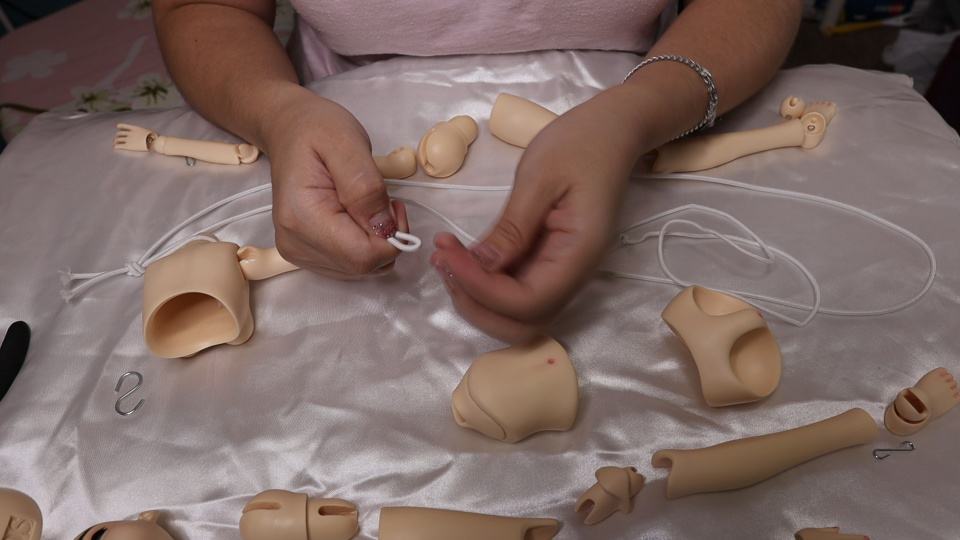
Moving onto the legs. With your loop you measured out you are going to want to fold it to the middle so you can re-create those two dangling loops for the legs. Place the s-hook in the middle where it is being folded. Make sure the knot is also at the top.
Feed the two loops through the neck and then proceed to bring them through any additional torso joints the doll might have. Then you are going to take those two loops and feed them into the hip holes in the lower part of your doll.
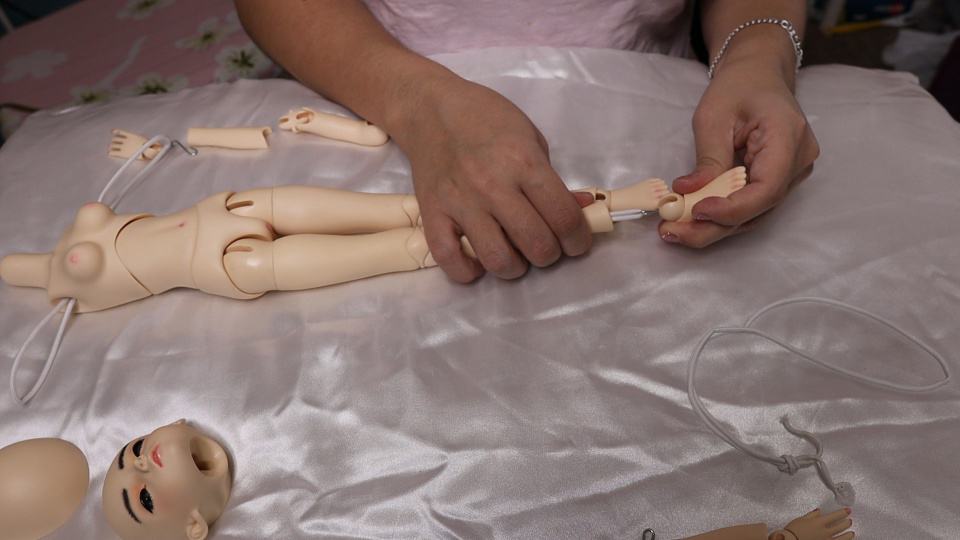
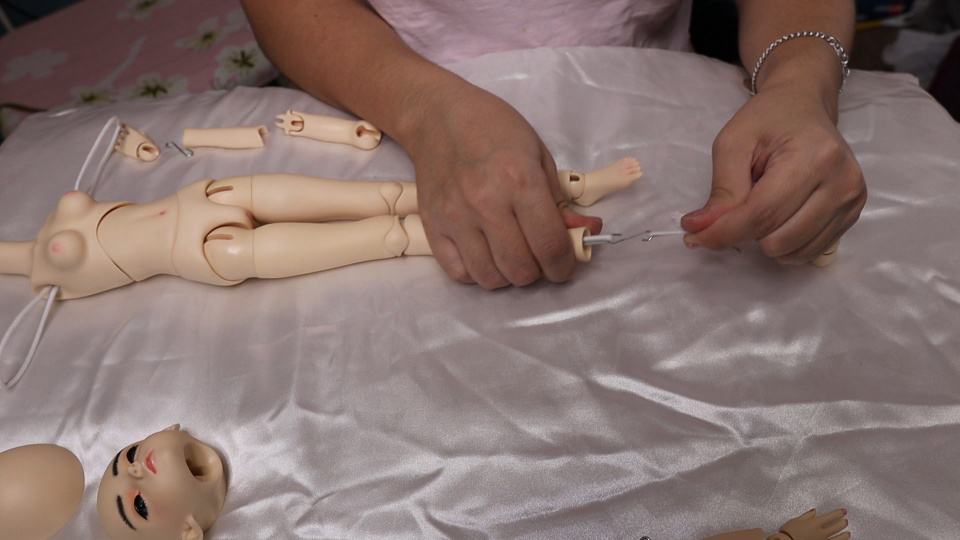
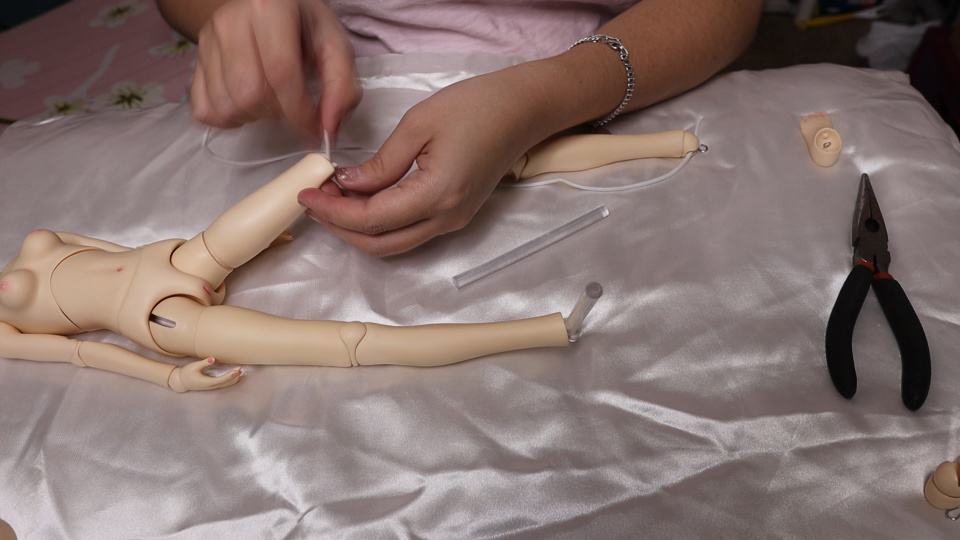
Let’s get ready to attach legs. you can piece both together at the same time to ensure it stays even with the knot at the top or you can do one whole leg at a time. Either way you are going to want to make sure that the elastic for the leg you are not currently stringing is being held in place.
Either using your pliers. or in my case I used a glue gun stick, place it in the loop just to hold it in place while you work on the other leg. Thread your pieces back in one at a time till you get to the s-hook at the ankle. Again, if you have forceps, great! Use it to hold your elastic in place while you attack the foot and the s-hook at the bottom.
Repeat the same process to the other leg.
Head
So your body should be put back together with just the large s-hook sticking up from the top where the neck is. Let’s put the head back on now.
Place the head on top of the s-hook sliding it through the open slit. Now, use your ribbon to thread it through the top part of the s-hook and pull it up. Make sure you turn the head again to lock it and settle the s-hook into it’s resting spot. You don’t have to use a ribbon to do this part, you can also use your pliers too.
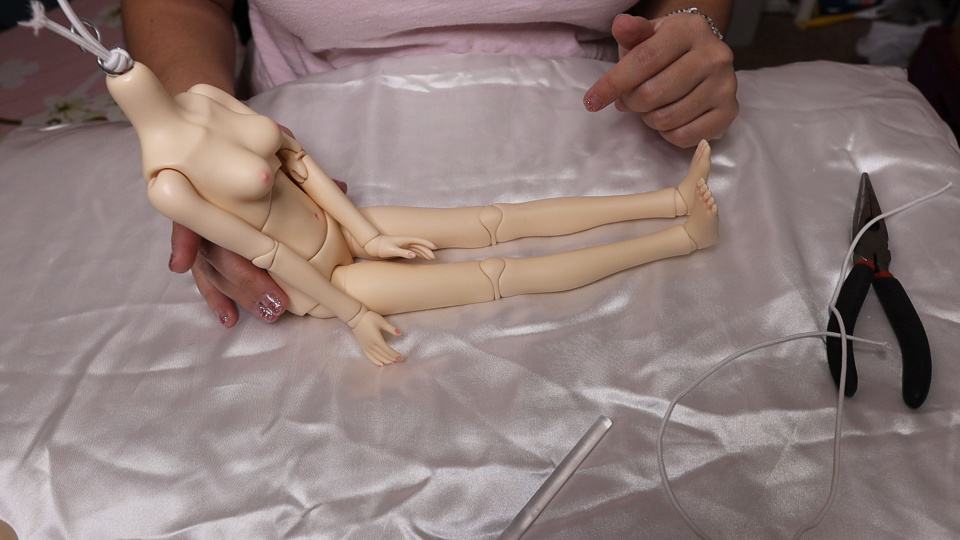
Ta-dah! You did it! You just restrung your BJD!
Great job!
I know it may seem really stressful and tiring to restring a doll but it is well worth it in the end. You should notice a difference in your dolls ability to pose and sit. If you still notice your doll is having trouble with posing, you might want to look into hot glue sueding. Feel free to check out my tutorial here!

I hope this was helpful and insightful. Once you give it a try it becomes A LOT less scary I promise! Do you have any tips for restringing? Tell us in the comments below!
Recent Posts
Come join my BJD Newsletter where you will learn about new dolls coming out, BJD doll sales, and artist highlights! There will also be other BJD goodies just for you!
When to Restring: Recognizing Signs Your BJD Needs a Tune-Up
Learn how to recognize signs your BJD needs a tune-up and restringing process. Maintain your doll's stringing for longer life with this step-by-step guide.